Article Content
By: The Getaway Couple Jason & Rae
We believe it’s very important to learn how to manually control your automatic leveling system early in your RVing adventures. Chances are if you don’t take the time to learn how to control it manually, you’ll find yourself learning on the fly when something goes wrong with your automatic leveling system. We know how easy it is to simply push that “auto-level” button and forget about it but there will be situations where you will need to manually control your jacks. A few examples include adding additional blocks in a very unlevel site, clearing an error code, and our favorite reason, installing SnapPads!
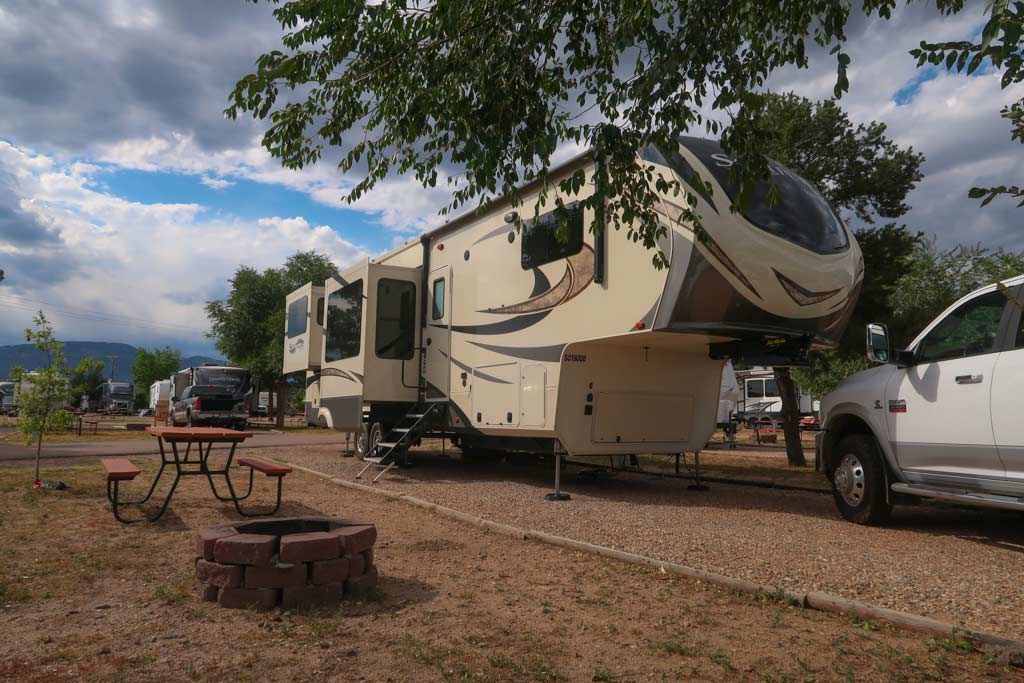
We own a 2018 Grand Design Solitude, which came with the 6 point LCI Level Up® with Automatic Leveling. Below are the instructions for how to manually control this system but before we get started I would like to point out that even though this system has six jacks, you will not be able to control each jack individually. This is due to the fact that the “LEFT” and “RIGHT” buttons control two jacks each. Let’s dive into the instructions:
Control Panel Definitions:
- The “FRONT” button controls both left and right front jacks.
- The “LEFT” button controls the middle jack and rear jack on the driver’s side.
- The “RIGHT” button controls the middle jack and rear jack on the passenger’s side.
- The “REAR” button controls both the left and right middle jacks and rear jacks.
Note: if using the “LEFT” or “RIGHT” button in manual mode, the middle jack will extend first then the rear jack. If you are using “RETRACT” in manual mode, the rear jack will retract first then the middle jack.
How to Enter Manual Mode - Extend:
- Push “ON/OFF” to turn the system on.
- Push the “UP” arrow once, or until the screen reads “MANUAL MODE”.
- Push the “ENTER” button once.
- Push the “FRONT” button to extend the front landing gear legs.
- Push the “REAR” button to extend the middle and rear landing gear legs.
- Push the “LEFT” button to extend the driver’s side middle and rear jack. When pressing this button the middle jack will extend first then the rear.
- Push the “RIGHT” button to extend the passenger’s side middle and rear jack. When pressing this button the middle jack will extend first then the rear.


How to Enter Manual Mode - Retract:
- Push “ON/OFF” to turn the system on.
- Push the “UP” arrow once, or until the screen reads “MANUAL MODE”.
- Push the “ENTER” button once.
- Push the “RETRACT” button, the red LED light will turn on.
- Push the “REAR” button to retract all of the middle and rear landing gear legs.
- Push the “LEFT” button to retract the driver’s side middle and rear jack. When retracting the rear jack will retract first then the middle.
- Push the “RIGHT” button to retract the passenger’s side middle and rear jack. When retracting the rear jack will retract first then the middle.
- Push the “FRONT” button to retract the front landing gear legs.
- Note: do not retract "FRONT" without being hitched up to your truck.

Installing SnapPads with the LCI Level Up® System
If you are wondering how to install SnapPads and have never used manual mode, don’t fear! It’s actually a very easy process. We installed our SnapPads in less than five minutes in a rest stop on a travel day. While it can be done with one person, we did it with two and it went a little faster that way. One person was aligning the pads under the jacks and the other was at the control panel lowering the jacks.
- You’ll want to install the SnapPads to the front two jacks first while still hitched up to your rig. You can do this by simply turning your system on and pressing the “FRONT” button. Have the pad soaped up and aligned properly under your jack and continue to press the button until you hear the “snap”.
- Once the front two pads are installed, you can unhitch and enter manual mode in your LCI Level Up® System. There’s no correct order but we selected “RIGHT”, which will lower your passenger side middle jack, then your passenger side rear jack. Again have the pads soaped up and properly aligned under your jacks. Continue to lower the jacks until you hear a “snap”.
- We then moved onto the other side and selected the “LEFT” button. The driver’s side middle jack will extend first, then the rear. Have the pads soaped up and properly aligned under your jacks. Continue to lower the jacks until you hear a “snap”.
Simple as that! We love our SnapPads for many reasons but a major one is that we no longer have to put down jack pads every moving day. They truly are one of our favorite RV accessories.

Additional Resources
- If you would like more information about SnapPads and what size is right for you, click here.
- If you would like the full instructions on how to install your SnapPads, click here.
- If you would like to know how to use the LCI Level Up ® Automatic Leveling System in regards to hitching/unhitching, auto leveling, and understanding error codes, here is a link to the manual.
Want to make your leveling system truly automatic? Check out RV SnapPads here
*SnapPad® is a registered trademark of Origen RV Accessories Ltd. LCI®, Level Up® and Ground Control® are registered trademarks of Lippert Components, Inc. Origen RV Accessories Ltd. is not affiliated with, sponsored by, or endorsed by Lippert Components, Inc


